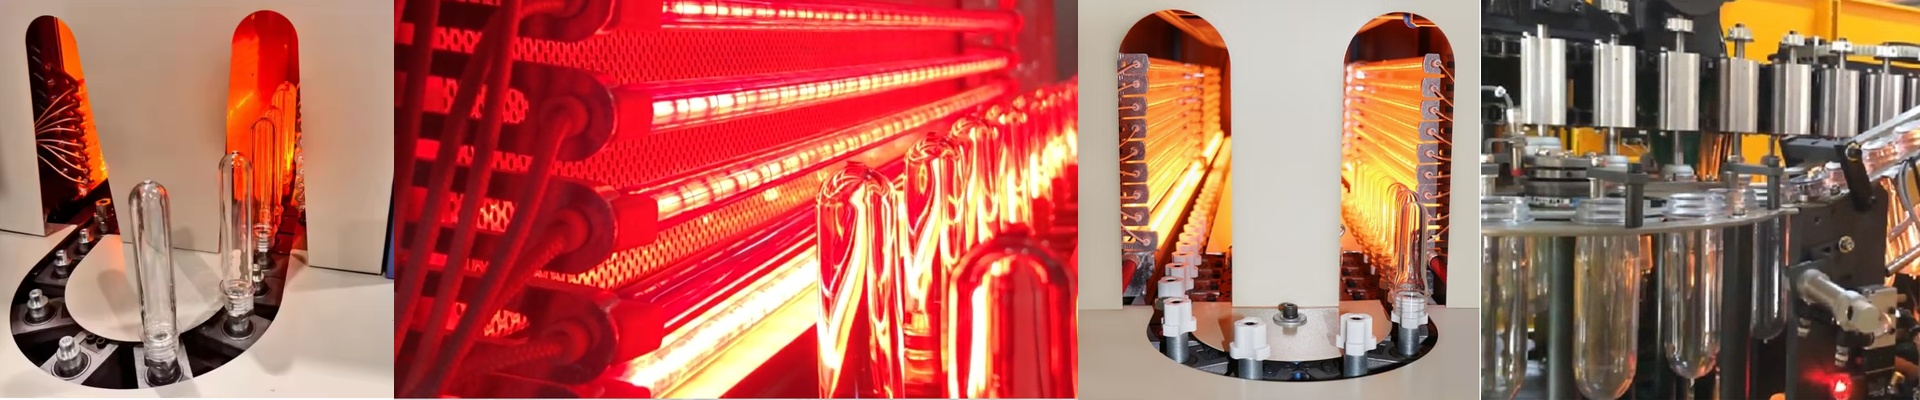
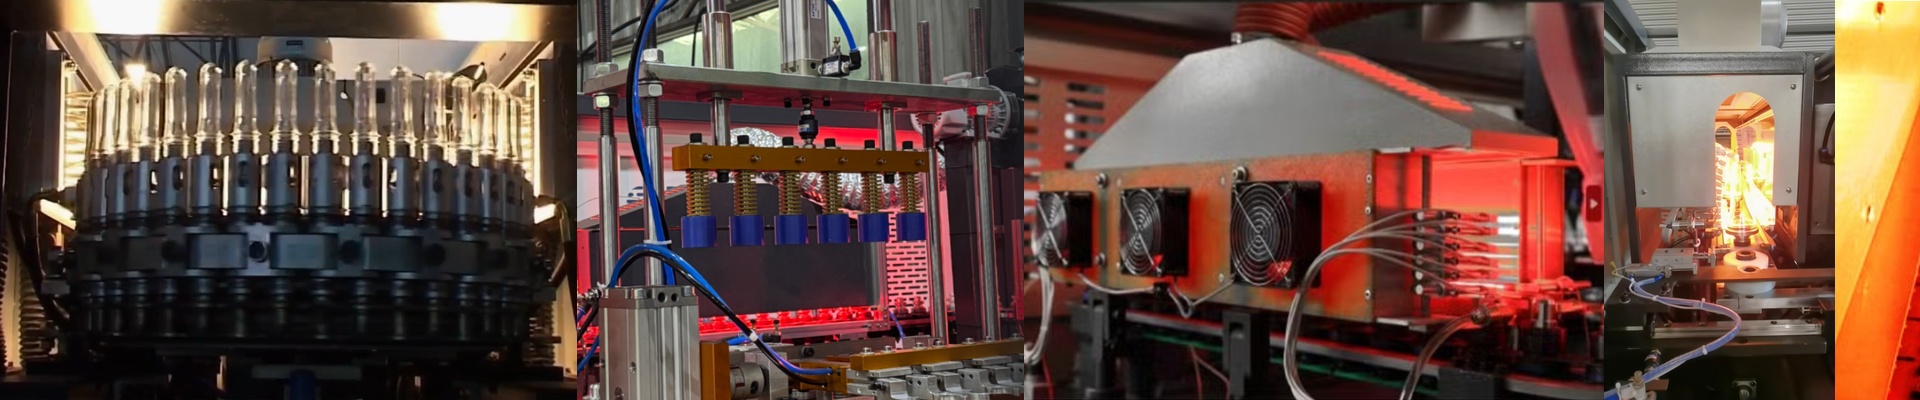
When the infrared bulb in your bakery fryer heater starts to dim, you feel it right away—control slips out of your hands. Preheat takes longer, hot spots show up, and the crust that used to blister evenly turns patchy. You start chasing the thermostat, and the line slows down with it.
What matters under the hood
We build this replacement infrared bulb around a quartz envelope and a tuned medium-wave emitter. It comes up to full output in seconds, so the heating system can hold setpoint without hunting. The filament layout is laid out to spread intensity across the baking chamber, which translates to more uniform heat right where the product sits. You can spec it in standard voltages—120V/240V—and common wattages, matched to the original heater footprint and terminal block. Each unit is rated for high-cycle duty, and we spec the connector to handle the thermal shock of a busy service window.
Why this matters on a bakery fryer
In a bakery fryer, the infrared heater isn’t just warming air—it’s driving surface browning and crispness. A stable, even heat field keeps oil temperature consistent, so every batch fries the same: golden outside, tender inside. You get tighter control over caramelization, fewer underdone or overdone pieces, and a more consistent product profile through the whole day. Because the bulb hits temperature fast, recovery between loads is quicker, which helps you keep the line moving without cranking the thermostat.
The install details that bite you if you skip them
Installation is straightforward, but treat it like any hot-zone maintenance. Power off and let the heater cool. Verify voltage, check the socket for oxidation, and make sure the bulb orientation matches the reflector path. These bulbs run hot. Keep clearances clear, and make sure airflow matches the original design. **Matching wattage and voltage is non-negotiable.**Mismatches push the system to overshoot, and that’s exactly where you start seeing uneven baking and premature failure.